The Hardware:
Skywatcher NEQ6 mount
ZWO ASI 1600MM Cool monochrome imaging camera
ZWO ASI 290MM monochrome guiding camera
ZWO EAF Focuser
ZWO 7x36mm Filter Wheel
ZWO OAG (Off Axis Guider)
Telescope - 8" F/4 imaging newtonian
The mount needs to be controlled to be able to polar align it (get it pointing exactly to the south celestial pole), slewing to targets around the sky and tracking them incredibly accurately to allow for long exposures to be taken.
The imaging camera has a cooler to cool the image sensor to 35 degrees below ambient, I typically cool down to -15c, at this temp the thermal noise on the camera becomes negligible.
The guide camera is attached to the off axis guider, this is a small mirror thats inserted into the optical path to bounce some light from the telescope into the guider camera so its looking and following exactly what the main imaging camera is (prevents a pile of issues a separate guide scope can have)
The focuser is basically a stepper motor attached to the scopes focuser to give me incredibly fine control of it so I can hook everything up to the control software to let it autofocus for me
The filter wheel has 7 different filters, since the imaging camera is a highly sensitive black and white camera to get colour images I need to put a filter in front of it to capture various wavelengths of light. To do this I use the following filters:
Luminance - A clear filter (around 300nm bandpass), blocks IR wavelengths
Red - 100nm bandpass filter letting the red coloured light in
Green - 100nm bandpass filter letting the green coloured light in
Blue - 100nm bandpass filter letting the blue coloured light in
Ha - 5nm bandpass filter centered around the Hydrogen Alpha wavelength (656.281nm, 2.5nm either side). Chosen to be 5nm instead of 3nm to also let in some Nii light (falls just to the side of Ha). Looking at this in the colour spectrum is a pinky red.
Oiii - 3nm bandpass filter centered around the forbidden Oxygen 3 wavelength (500.7nm). This one is a teal colour
Sii - 3nm bandpass filter centered around the forbidden Sulphur 2 wavelength (672nm). This one is also a red, but a darker blood red colour.
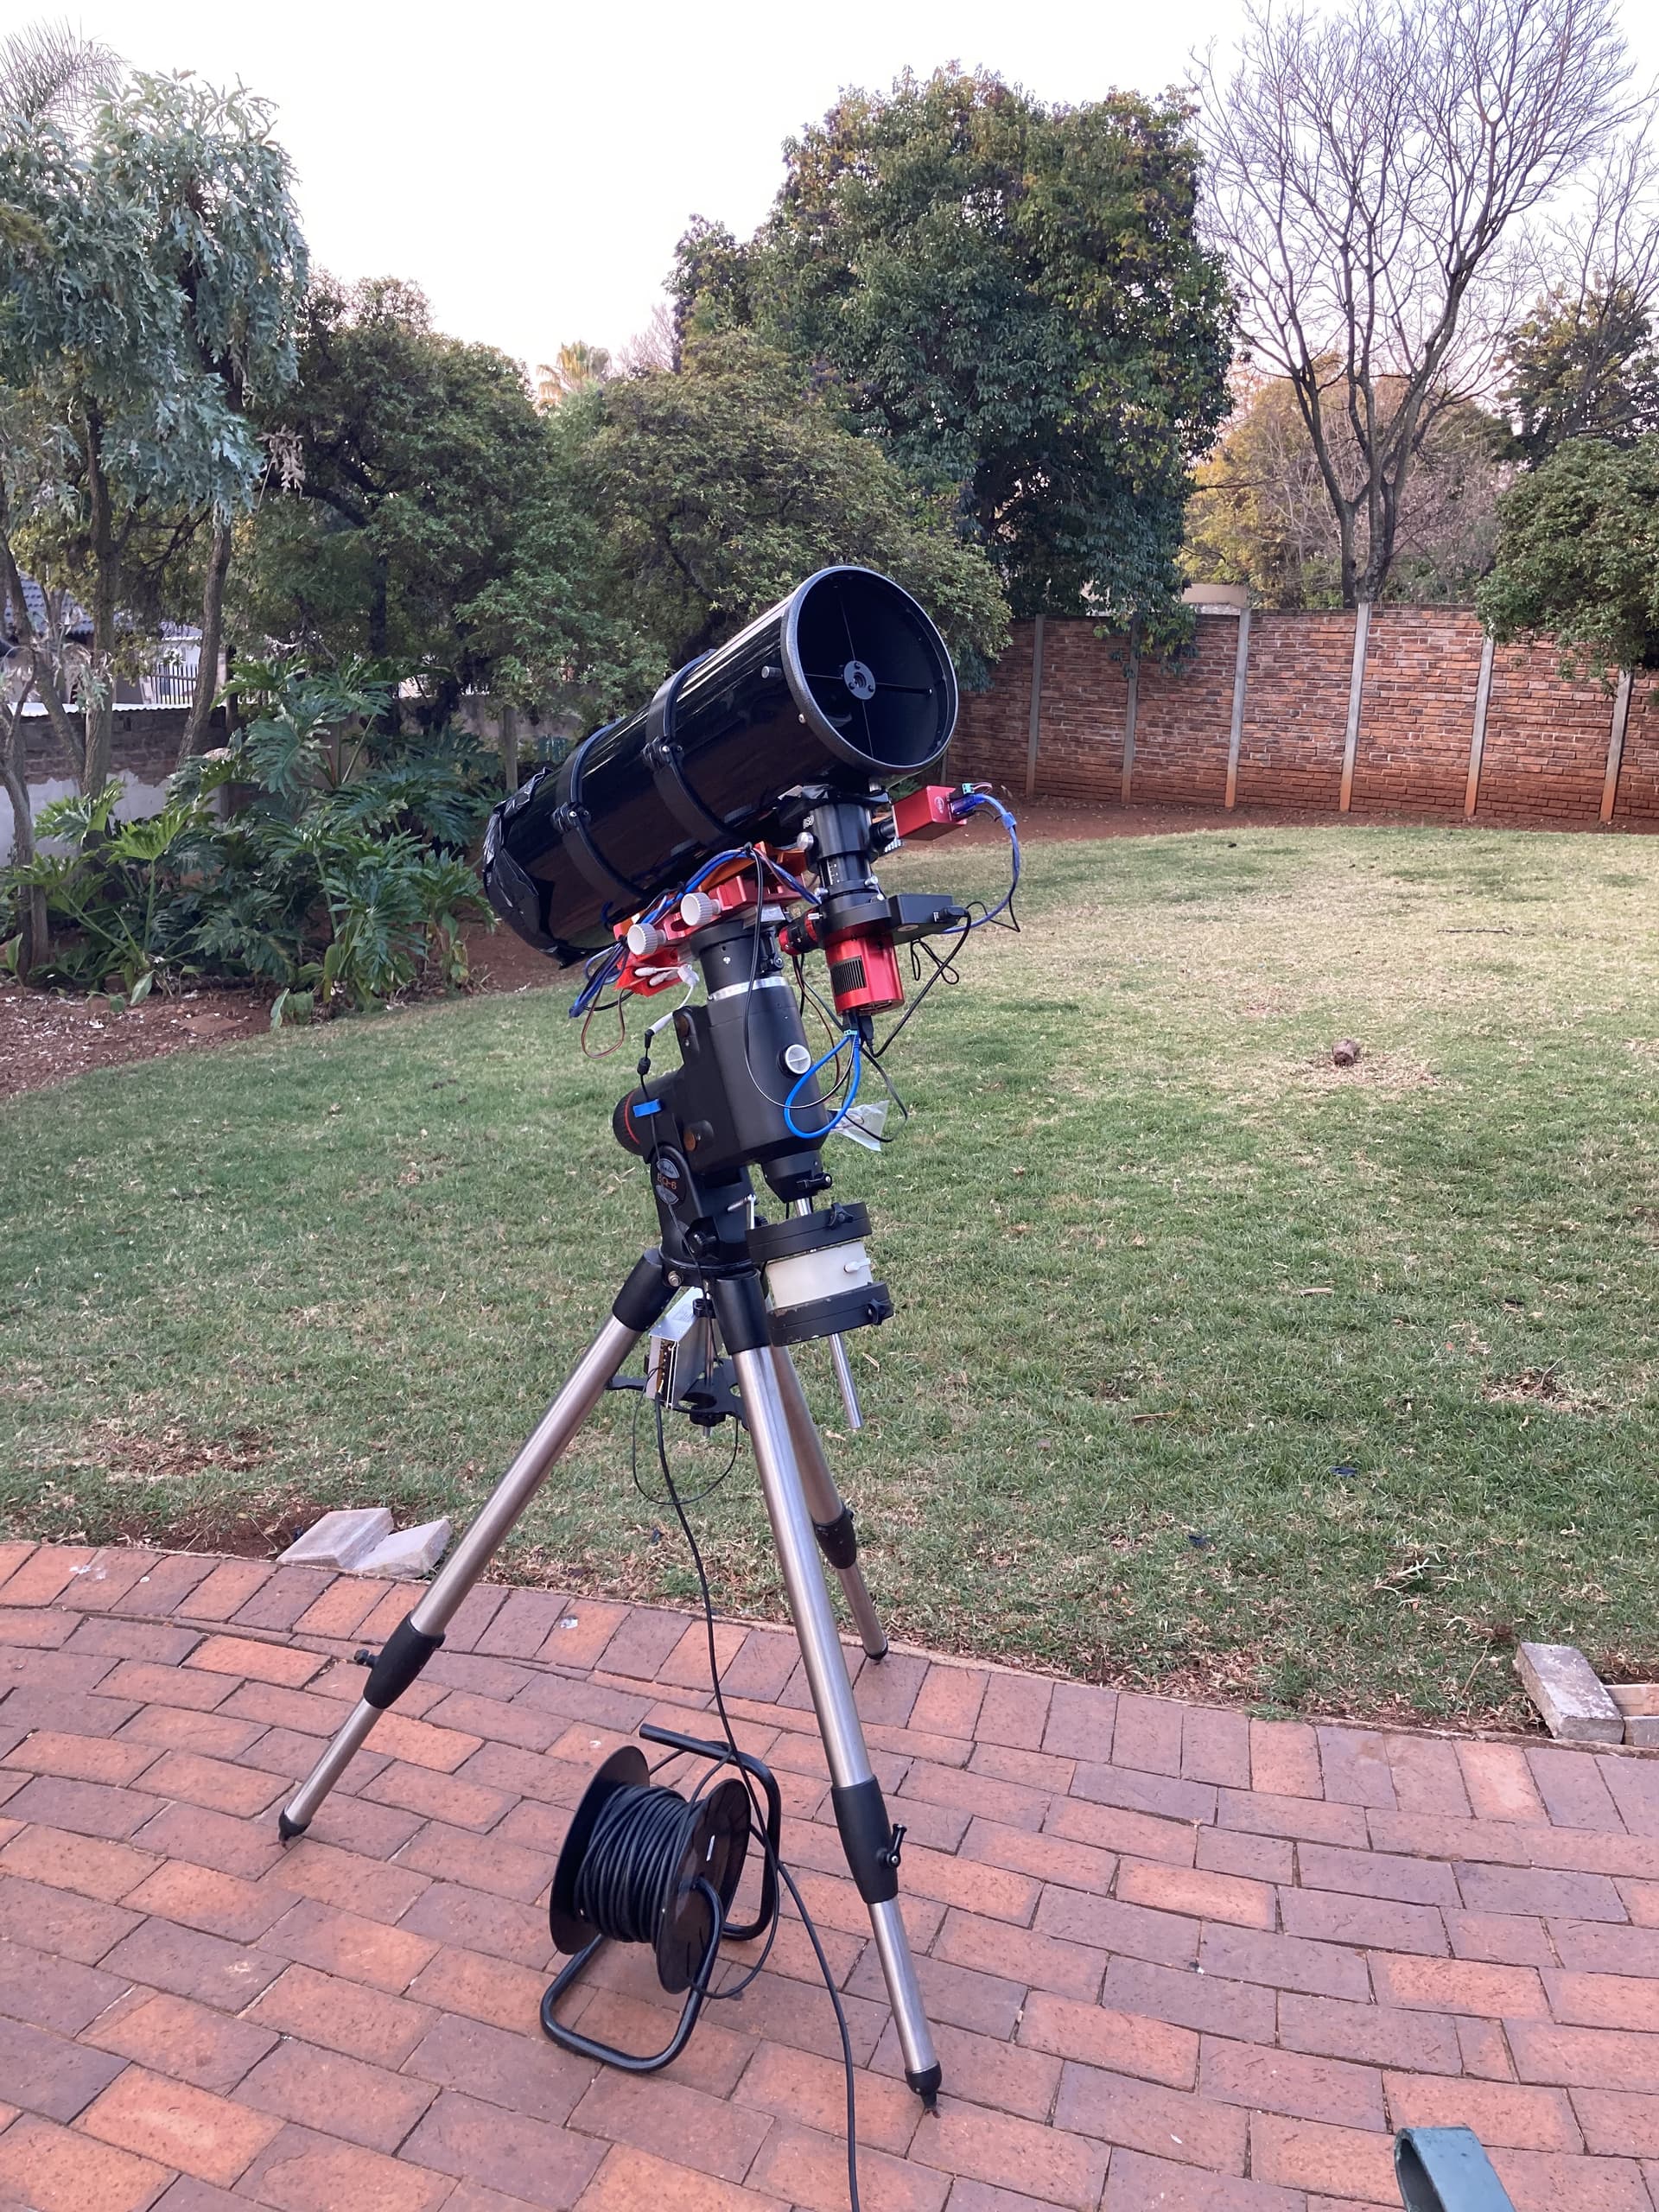
Everything connected up ready to image:
The Control
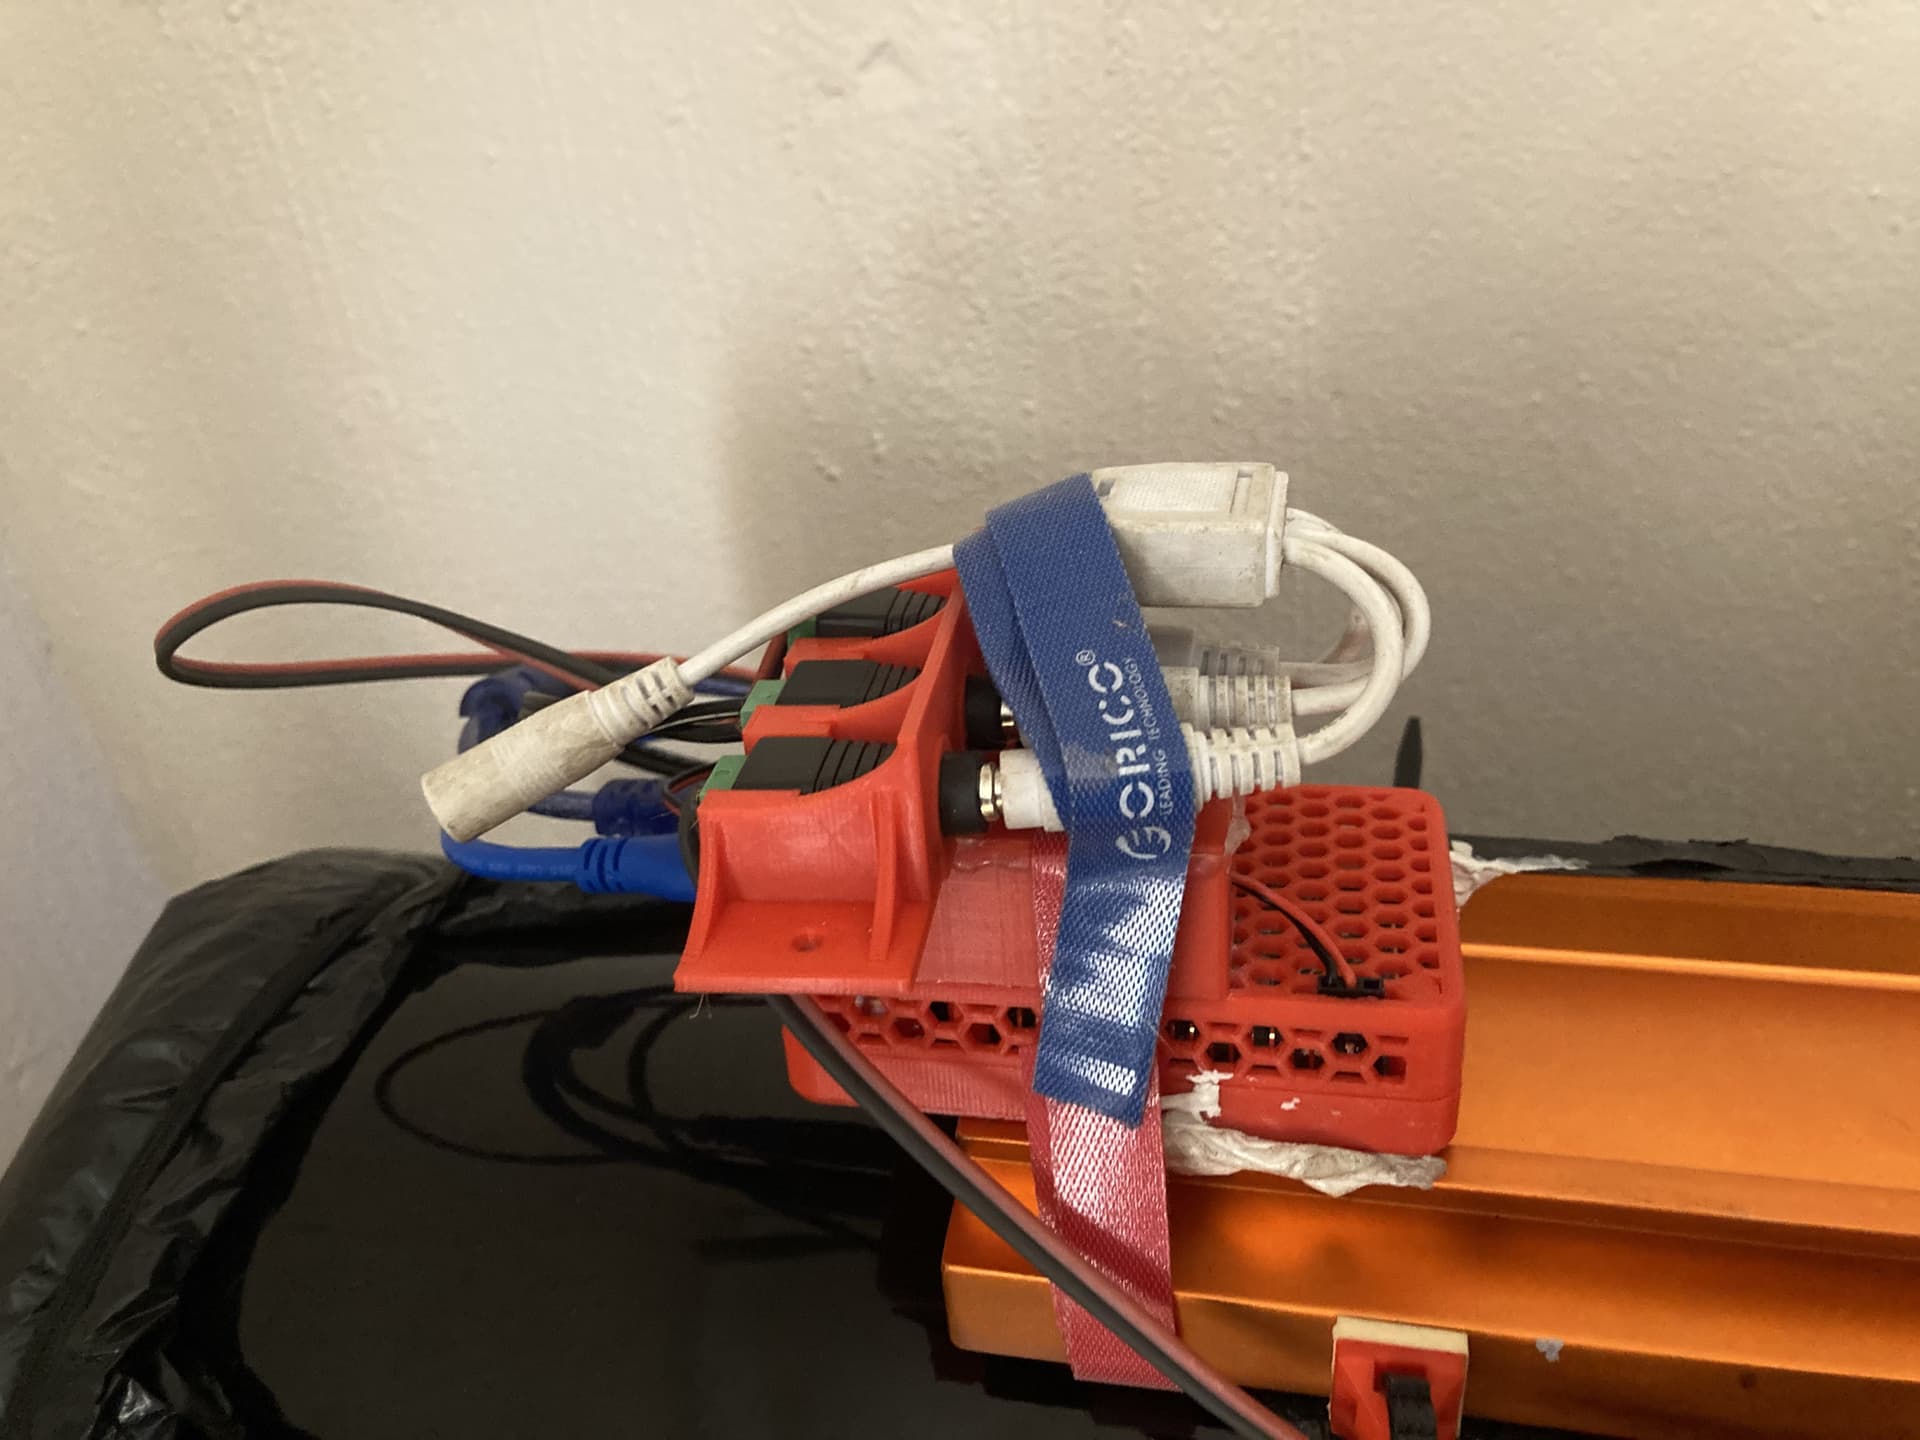
All of this is hooked up to a Raspberry Pi4 4Gb in a custom printed case.
Because I do travel to places where there might not be 220v power available I setup the Pi to take power into the header pins from a 12v->5v buck converter. As everything else is capable of running of a 12v battery I setup a single power lead coming in, one 12v running to a boost converter to send 13.8v to the mount (the stepper motors in the mount have better responses to a higher input voltage, feeding them 12v is sub optimal). The 1600mm has a 2 stage peltier cooler built in and this requires a 12v supply as well (also tolerate of the std 12v battery voltages). The focuser also requires a 12v supply. All of these are fed from the single input so I have a portable setup that is easy to connect to a 12v battery or (as in the picture above) a PSU taking 220v and converting it to a 12v output)
Closeup of the Pi controlling everything and the power distribution
The Pi, scope, focuser, off-axis guider, 290mm, filterwheel and the 1600mm

The yellow electrical tape is there for testing of another project I’m busy working on for this setup, a rotator to control the rotation of the camera remotely.
On the Pi I have the astroberry distro running. With this distro comes KStars, a freely downloadable planetarium software with Ekos, an component of KStars that does the imaging. The other important piece of software is PHD2, this does the guiding (however i’m experimenting with the built in guiding of Ekos).
Ekos uses the INDI framework for control of the various devices. This implements the driver control for the NEQ6 mount (via a USB → Serial cable) and all the other components.
On my phone I run a GPS->IP program which sends my phones GPS co-ordinates across an IP network, Ekos detects that and pulls the GPS co-ordinates so it knows exactly where in the world the telescope is sitting.
KStars itself lets me selected the target I want to image, then tell the telescope where to go.
The telescope will slew to where it thinks it should be (mechanical imperfections means its not 100% accurate).
After that I’ll tell it to focus. To focus it will take an image, analyse the image and detect the stars. The stars are then analysed for their “size” (Half Flux Diameter) and this number is plotted, it then moves the focuser in a bit and repeats this process. This builds up a plot to which a hyperbolic curve is fitted to determine the optimal focus point, it then slowly edges up to this point (to try get rid of the backlash in the focuser).
The next step is a plate solve. To do this it will again take an image, extract and analyse the stars and then it starts comparing it to a database of the sky (all the stars down to the 18th magnitude, its a petty big database) to find out exactly where the scope is pointing. When it finds this it calculates the pointing error and moves the scope, it repeats this until it is within 0.00417 degrees of accuracy.
When this is all done I start it guiding. The guiding software picks the most appropriate star and some helper stars, it does some calibration routines (so it knows how the mount is behaving mechanically) and then starts guiding. Every second it will take an image using the guiding camera, and check for any sub pixel movements (since a star covers more than one pixel it checks for brightness changes across pixels). The guide camera has 2.3 um pixels so the movements its picking up are very very tiny. It then sends corrections to the mount to keep it as perfect as it can. The goal is to have perfectly round stars, for me this means tracking around tracking the movements across the sky with an accuracy (across a 10 minute window) of 0.00028 degrees.
The imaging session can then be started. I can decide what filter to use and how long (typically 5 minute exposures) and how many. This all gets saved to a 128Gb USB 3.0 flash drive attached to the Pi.
All of this results in these images:
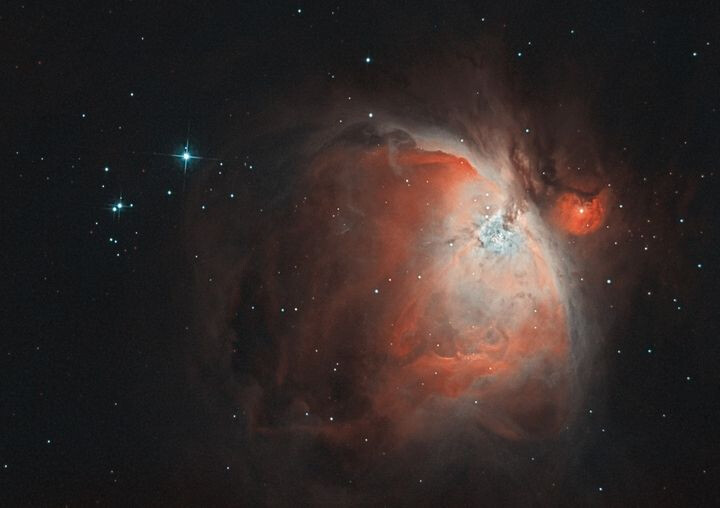
Orion Nebula (6 mins)
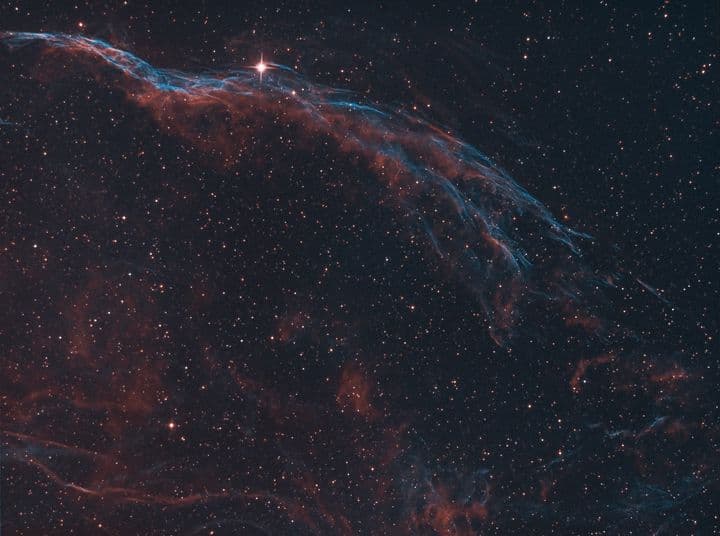
Western Veil Nebula (3hrs):
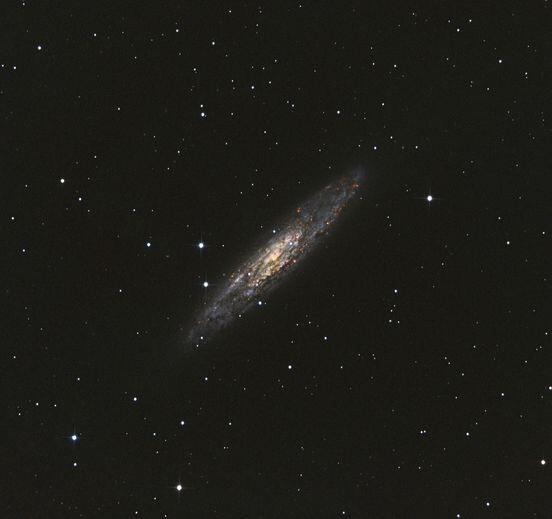
Sculptor Galaxy (this one is 11.42 million light years away):
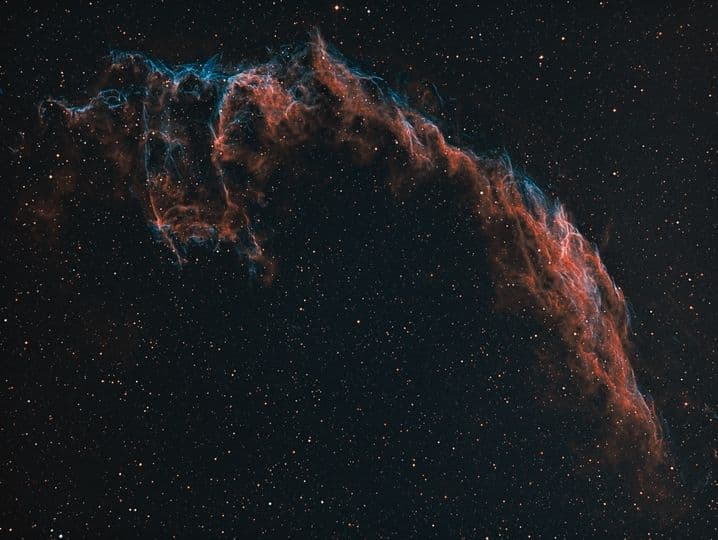
Bat nebula (Eastern veil nebula):
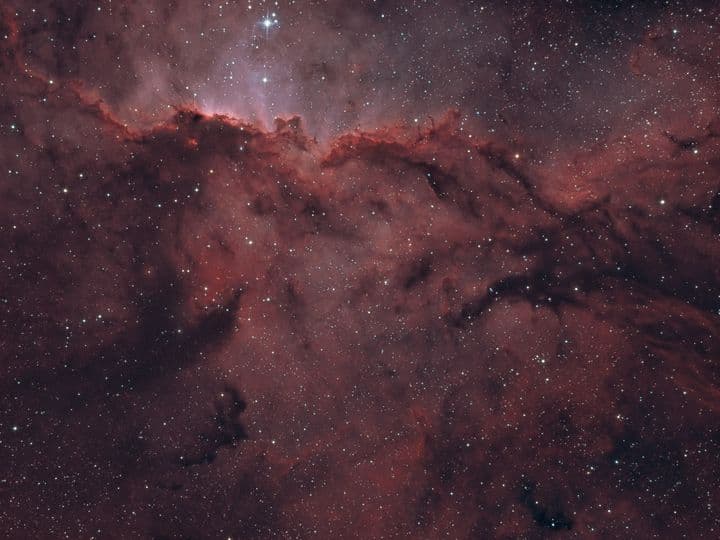
Fighting Dragons of Ara:
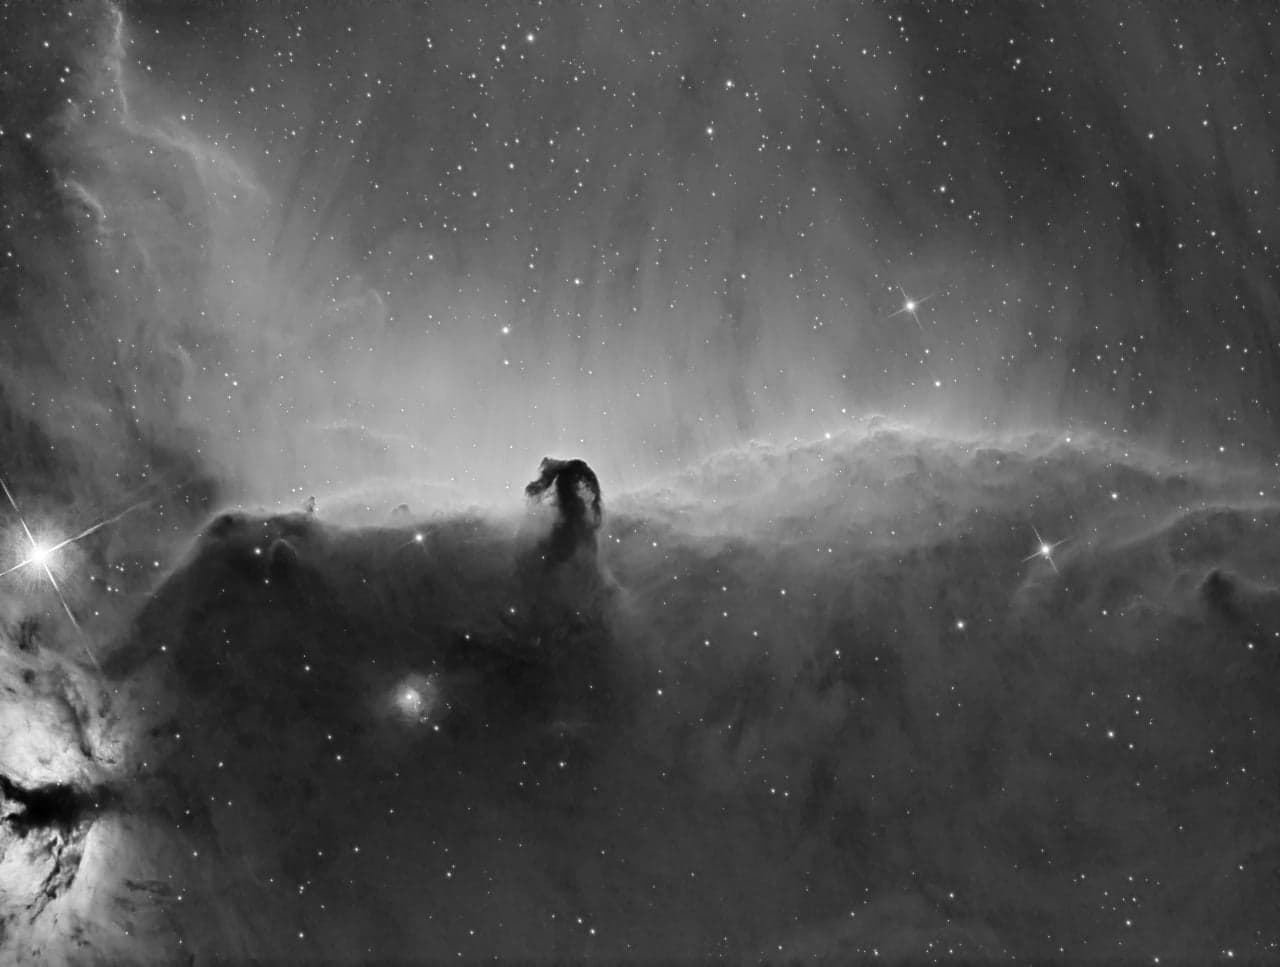
Horsehead nebula (in Ha only, hence why its black and white):